
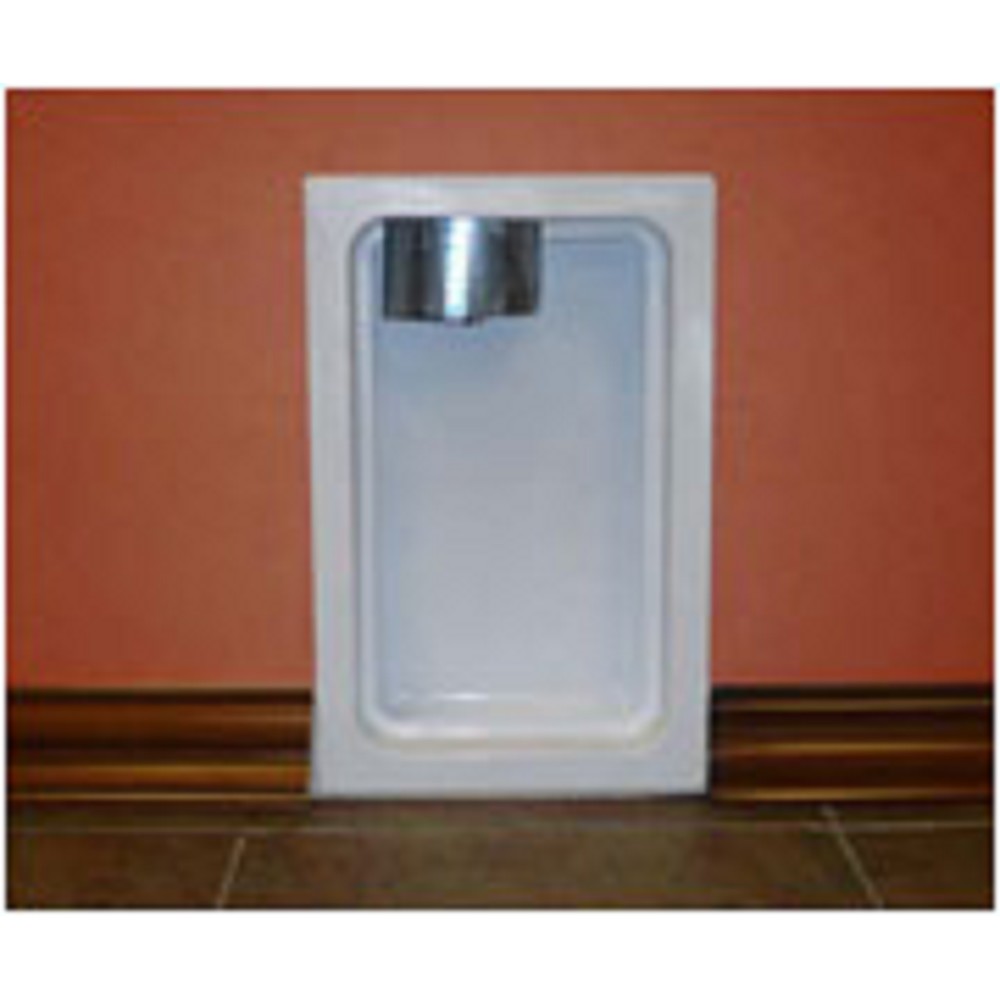
Installing a metal dryer vent box is an essential step in ensuring the efficient and safe operation of your dryer. This installation not only improves airflow but also minimizes the risk of fire hazards associated with lint buildup. Whether you are undertaking a new construction project or upgrading your existing laundry setup, understanding the proper installation techniques is crucial. This guide outlines a comprehensive procedure for installing a metal dryer vent box, focusing on methods that enhance performance and safety. For those seeking more in-depth insights, explore advanced guides and tips available through specialized resources.
Why Choose a Metal Dryer Vent Box?
The selection of a metal dryer vent box over traditional plastic alternatives offers several advantages:
- Durability: Metal vent boxes are resistant to damage and warping, ensuring longevity.
- Safety: Metal is non-combustible, reducing the risk of fire hazards.
- Improved Airflow: The design of metal vent boxes promotes better airflow, enhancing dryer efficiency.
These benefits contribute to a safer and more efficient laundry environment. To learn about our tailored solutions for dryer vent boxes, consider exploring additional resources.
Materials Needed for Installation
Gathering Supplies
Before starting the installation, ensure all necessary materials and tools are readily available:
- Metal dryer vent box
- Trim ring
- Measuring tape
- Drill and appropriate drill bits
- Screwdriver
- Level
- Metal screws
- Caulk gun and appropriate sealant
Step-by-Step Installation Guide
1. Preparing the Installation Area
Begin by selecting an appropriate location for the dryer vent box. Ensure there is ample space for the dryer to connect seamlessly to the vent box. Use a measuring tape to determine the correct position based on the dryer?s vent outlet. Mark the area clearly.
2. Installing the Metal Dryer Vent Box
Follow these steps to secure the vent box:
- Align the vent box with the marked position on the wall.
- Using a level, ensure the box is straight and aligned properly.
- Drill pilot holes into the wall where the screws will be placed.
- Screw the metal dryer vent box into the wall securely.
For a detailed walkthrough on the installation process, find out more about this approach through expert resources.
3. Attaching the Trim Ring
The trim ring provides a clean, finished look to the installation:
- Position the trim ring around the dryer vent box.
- Ensure it fits snugly and aligns with the box?s edges.
- Secure the trim ring using screws, checking that it is flush with the wall.
4. Sealing and Finalizing
To prevent air leaks and enhance the safety of the installation:
- Use a caulk gun to apply sealant around the edges of the vent box and trim ring.
- Allow the sealant to dry completely before using the dryer.
For comprehensive sealing techniques, discover expert strategies here.
Conclusion
Proper installation of a metal dryer vent box is a straightforward process that significantly enhances the safety and efficiency of your dryer system. By following the outlined steps and utilizing quality materials, homeowners can ensure a reliable and long-lasting installation. For additional guidance and expert advice, explore advanced guides and tips available through specialized resources.