
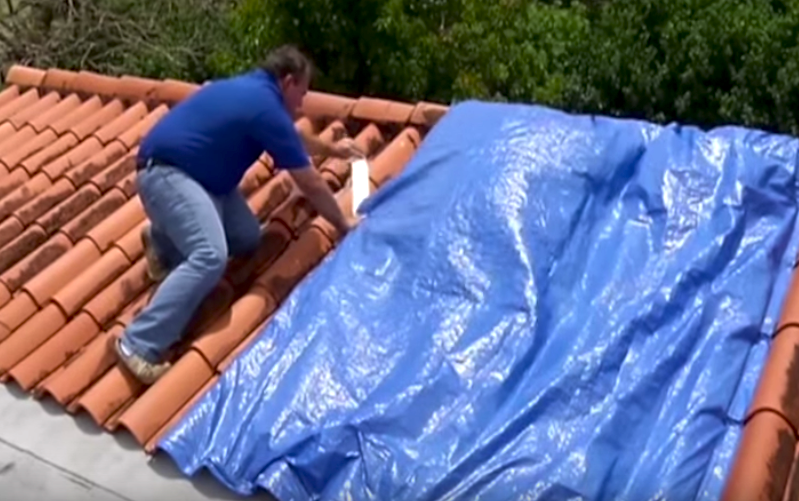
Protecting a roof from harsh weather conditions can significantly prolong its lifespan and maintain the structural integrity of a home. When shingles are missing, or leaks are detected, using a tarp can offer a temporary yet effective solution. Tarps are invaluable for homeowners looking to shield their homes from further damage until permanent repairs can be made. This guide aims to provide a comprehensive overview of how to use a tarp to cover your roof safely and effectively.
Why Use a Tarp for Roof Protection?
Tarps serve as a crucial first line of defense against elements like rain, snow, and debris. They are especially beneficial in emergencies when immediate roof repairs can’t be conducted. Some key reasons for using a tarp include:
- Preventing water intrusion and subsequent water damage.
- Minimizing wind damage to exposed roof areas.
- Providing a temporary solution that is cost-effective and quick to implement.
Choosing the Right Tarp
Selecting an appropriate tarp to cover roof is crucial for effective protection. Consider the following factors when choosing a tarp:
- Size: Ensure the tarp is large enough to cover the damaged area, with extra material to secure it properly.
- Material: Opt for heavy-duty, waterproof tarps that can withstand the elements.
- Color: Blue is a common choice for visibility and UV protection, but select a color that suits your needs.
Steps to Safely Install a Tarp on Your Roof
1. Safety First
Safety is paramount when working on a roof. Ensure you have the proper safety gear, including:
- Non-slip shoes to prevent falls.
- A helmet to protect against accidental drops or slips.
- Safety harness if working on a steep roof.
2. Prepare the Roof
Clear the roof of any debris or loose shingles that might interfere with the tarp’s placement. Assess the damage to determine the best approach for covering it.
3. Position the Tarp
Place the tarp over the damaged area, ensuring it extends at least 4 feet beyond the affected section. This extra length helps secure the tarp and provides additional coverage.
4. Secure the Tarp
Use sturdy roofing nails or screws with washers to fasten the tarp to the roof. Focus on the edges, securing them to the roof structure, and use 2×4 wooden planks along the tarp’s perimeter for extra stability.
5. Check the Coverage
Once secured, inspect the tarp to ensure there are no gaps or loose sections that could allow water or wind to penetrate. Adjust as necessary for a snug fit.
Maintaining the Tarp
Regularly inspect the tarp, especially after storms, to ensure it remains secure. Replace it if it shows signs of wear or damage to maintain the protection of the roof.
Conclusion
Using a tarp to cover a roof is an effective temporary measure to protect a home from further damage. By selecting the right tarp and following safe installation practices, homeowners can safeguard their property until permanent repairs are possible. For more information on choosing the right tarp to cover roof, consult resources that specialize in roofing solutions.