
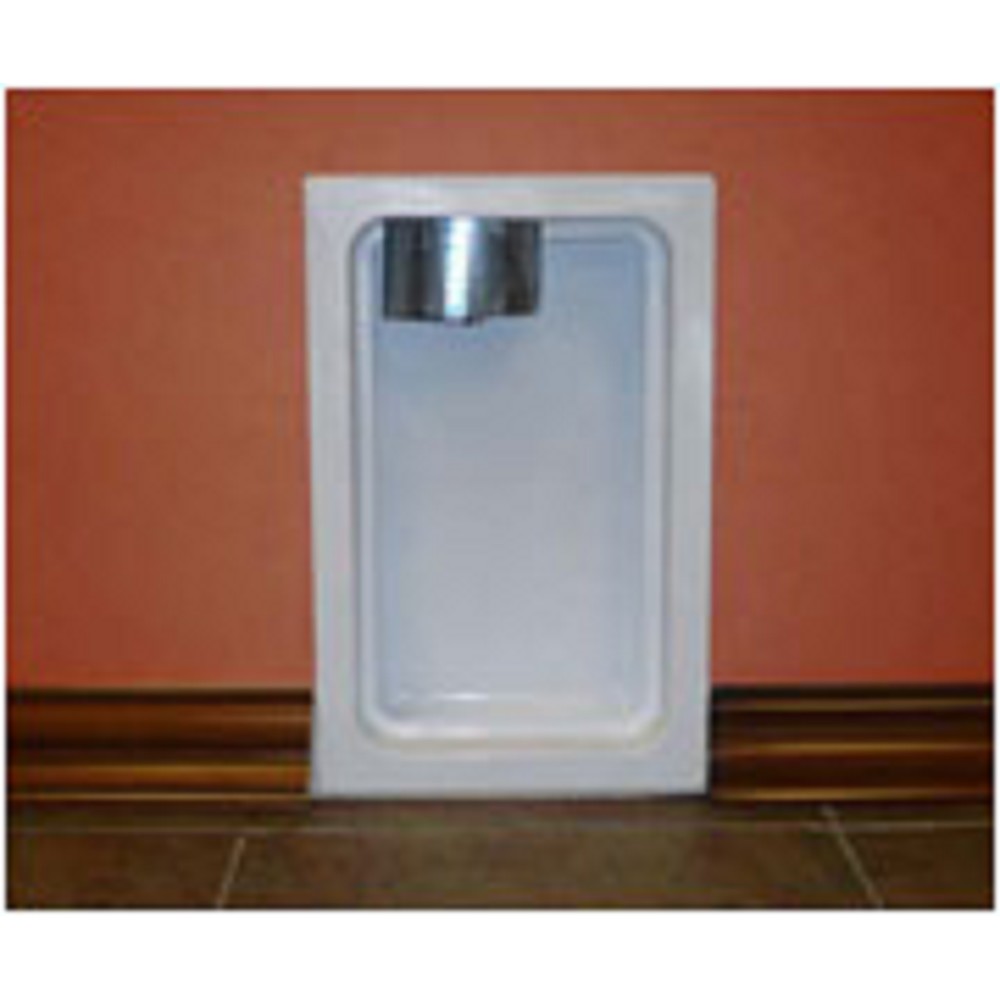
Installing a metal dryer box can be a crucial step in improving the efficiency and safety of your laundry space. The metal dryer box serves as an enclosure for the dryer vent, providing a neat and secure connection to your home’s venting system. Proper installation helps prevent lint buildup and reduces the risk of fire hazards, making it an essential task for any homeowner or contractor aiming to optimize their laundry setup. This guide offers a detailed step-by-step process to ensure that the installation is executed with precision and expertise.
Gathering Materials and Tools
Before beginning the installation, it’s important to have the necessary materials and tools at hand. Here is a checklist to ensure all items are ready:
- Metal dryer box (Consider the DBX1000M model for optimal performance)
- Drywall saw
- Measuring tape
- Level
- Screwdriver
- Screws
- Sealant
Preparing the Installation Site
Locate and Plan the Placement
Identify the best location for the dryer box installation. Ideally, it should be directly behind where the dryer will be placed. Use a measuring tape to determine the dimensions of the space and ensure the dryer box will fit comfortably.
Mark and Cut the Opening
Once the site is selected, use a pencil to mark the area on the wall where the dryer box will be installed. It’s crucial to ensure the markings are level and precise. With a drywall saw, carefully cut along the markings to create an opening for the dryer box.
Installing the Metal Dryer Box
Position and Secure the Box
Slide the metal dryer box into the opening, ensuring it fits snugly. Use a level to confirm that the box is properly aligned. Secure the box using screws, making sure it is firmly attached to the wall studs for stability.
Connect the Dryer Vent
Attach the dryer vent to the metal box, ensuring a secure and airtight connection. Applying sealant around the connection point can help prevent air leaks and improve the efficiency of the vent system. Explore advanced guides and tips for more detailed instructions on sealing techniques.
Final Adjustments and Testing
Attach the Trim Ring
The installation process is near completion with the attachment of the trim ring. This component not only enhances the aesthetic of the installation but also provides additional support. Ensure the trim is securely fitted around the box edges.
Test the Setup
With all components in place, it is essential to test the functionality of the dryer box setup. Run the dryer and inspect for any leaks or unusual noises. Double-check that the venting is efficient and there are no obstructions. If adjustments are necessary, refer to expert strategies here for troubleshooting.
Conclusion
Completing the installation of a metal dryer box not only ensures a safer and more efficient laundry space but also enhances the overall functionality of your home’s venting system. This step-by-step guide provides the necessary insights for a successful installation, aligning with industry standards. For additional resources and recommendations, find out more about this approach to achieve optimal results.