
Concrete floors are a staple in both residential and commercial settings due to their durability and strength. However, over time, even the sturdiest of concrete floors can develop cracks, chips, or other forms of damage. Repairing these issues promptly is crucial to maintain the structural integrity and aesthetic appeal of the flooring. One of the most effective and efficient ways to repair concrete floors is using epoxy, a material known for its adhesive properties and resilience. This article will guide you through the quick and easy process of repairing concrete floors with epoxy, ensuring a professional finish every time.
Understanding Epoxy: A Versatile Solution
Epoxy is a highly versatile material that can be used for various applications, including floor repair. It is a two-part system consisting of resin and hardener that, when mixed, forms a strong, durable, and chemically resistant surface. Here are some benefits of using epoxy for concrete floor repair:
- Provides a seamless and glossy finish.
- Resistant to chemicals, stains, and abrasions.
- Easy to clean and maintain.
- Enhances the aesthetic appeal of the space.
To learn about our tailored solutions, click here.
Steps for Quick and Easy Concrete Floor Repair with Epoxy
Step 1: Surface Preparation
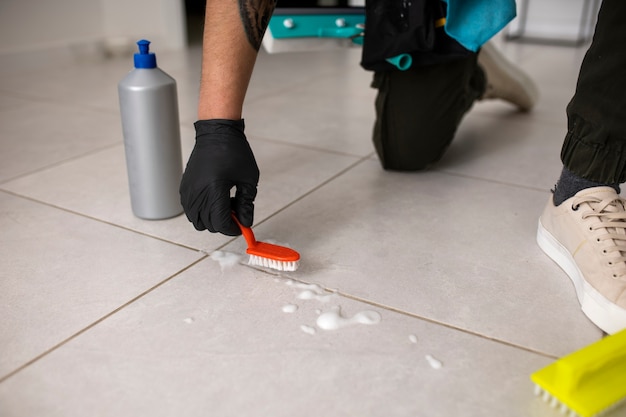
Proper preparation of the concrete surface is crucial for the success of epoxy application. Begin by cleaning the floor thoroughly to remove any dirt, grease, or loose debris. Use a degreaser if necessary to ensure the surface is free of oils. Any existing coatings or sealers must be removed to allow the epoxy to bond effectively. This can be done by grinding or etching the surface.
Explore advanced guides and tips on surface preparation here.
Step 2: Repairing Cracks and Holes
Next, address any visible cracks or holes in the concrete. Fill these imperfections with an epoxy patching compound, ensuring the product is compatible with the epoxy coating you plan to use. Allow the patch to cure as per the manufacturer’s instructions before proceeding to the next step.
Discover expert strategies for crack repair here.
Step 3: Mixing and Applying Epoxy
Once the surface is prepared and repairs are made, it’s time to mix the epoxy. Follow the manufacturer’s instructions to mix the resin and hardener in the correct ratio. Use a drill with a mixing attachment for thorough blending. Pour the mixed epoxy onto the floor and spread it evenly with a squeegee or roller, working in sections to ensure uniform coverage.
Find out more about this approach here.
Step 4: Curing and Finishing
Allow the epoxy to cure completely, which may take several days depending on the product and environmental conditions. Avoid walking on the surface until it has fully cured. Once cured, the floor will have a high-gloss finish that is both attractive and durable. Regular maintenance will keep the floor looking pristine for years to come.
For additional guidance on the curing process, learn more here.
Conclusion
Repairing concrete floors with epoxy is a straightforward process that can significantly enhance the durability and appearance of your space. By following these steps and using quality materials, a long-lasting and professional result is achievable. For those seeking more detailed information and professional advice, numerous resources and experts are available to assist with tailored solutions. Learn more about how epoxy flooring can transform your space by visiting this page.